Word Designer
Word Designer is a support tool for creating form layouts. It is available for free to SVF Cloud users.
In the form layout of a Word file, it is necessary to place a tag on a Word sheet, but Word Designer makes it easy to place tags and set attributes.
About SVF Cloud Activation
To use Word Designer for the first time, you need to perform SVF Cloud activation.
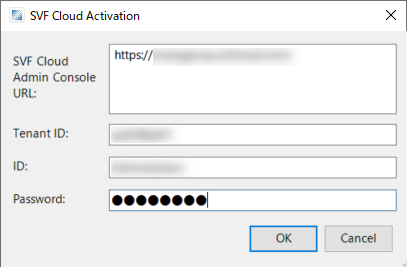
The SVF Cloud Activation screen appears when you click one of the buttons in Word Designer before activation.
Enter your SVF Cloud Manager login information and click the OK button. Once the license is successfully activated, you can use Word Designer.
SVF Cloud Admin Console URL
The URL of SVF Cloud Manager.
Tenant ID
The tenant ID of SVF Cloud Manager.
ID
The user ID of SVF Cloud Manager.
Password
The login password for SVF Cloud Manager.
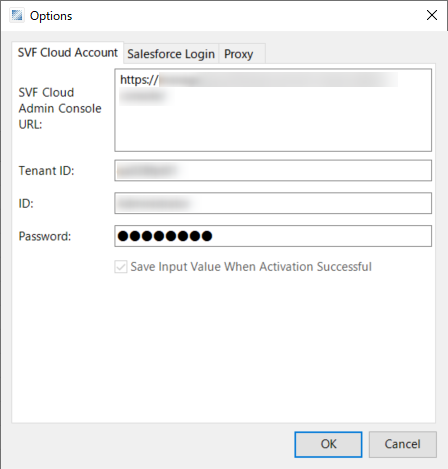
Modify the information used for activation on the next screen.
"Settings" - "Options" - the "SVF Cloud Account" tab
For details, see ""Options" settings".
"Settings" - "About" - the "Activation" button
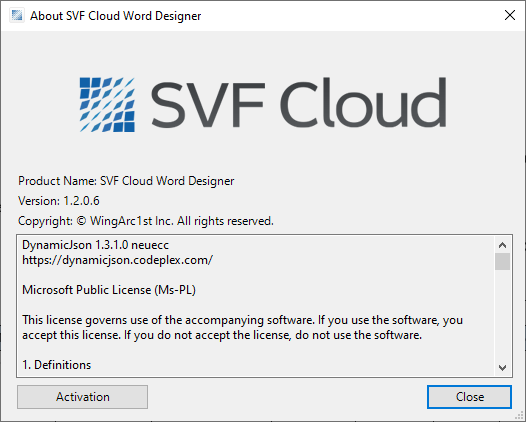
Version Upgrades
Word Designer version 1.2.0.6 or later will be upgraded automatically.
The version is checked by clicking any of the Word Designer buttons after starting Microsoft Word. It will be automatically updated if a new version is found.
For versions earlier than the above, access the download page from  Manuals in SVF Cloud Manager, and download and install the latest "SVF Cloud Word Designer".
Screen Layout of Word Designer
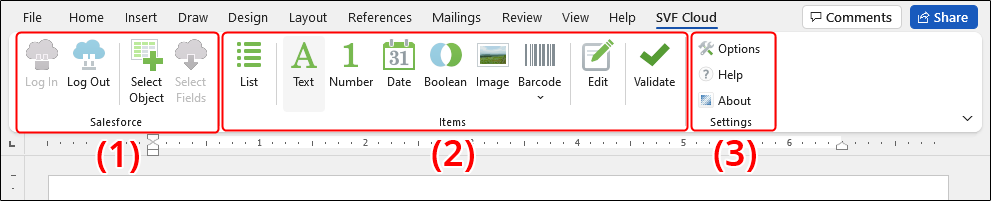
No. | Category | Ribbon | Description |
|---|---|---|---|
(1) | Salesforce | Log In | Logs in to Salesforce. The login screen appears according to the settings in Settings - Options - Salesforce Login. You need to log in if you want to get field information of Salesforce to design a form layout. |
Log Out | Logs out from Salesforce. Note that you will be automatically logged out when you close a Word file. | ||
Select Object | Displays the Salesforce object selection screen. On the object selection screen, specify the Salesforce object for outputting the form that uses this form layout. | ||
Select Fields | Displays the field selection screen. A list of the fields belonging to the Salesforce object specified by Select Object is displayed on the field selection screen. Select the fields to output to this form layout. The selected item fields are created and deployed on the page. | ||
(2) | Items | List | Inserts a field for outputting a list. |
Text | Inserts a field for outputting text. If you have selected an existing field, the tag will be overwritten. Note that common tags (name attribute, and the like) are retained before and after overwriting. | ||
Number | Inserts a field for outputting a number. If you have selected an existing field, the tag will be overwritten. Note that common tags (name attribute, and the like) are retained before and after overwriting. | ||
Date | Inserts a field for outputting a date. If you have selected an existing field, the tag will be overwritten. Note that common tags (name attribute, and the like) are retained before and after overwriting. | ||
Boolean | Inserts a field for outputting a Boolean. If you have selected an existing field, the tag will be overwritten. Note that common tags (name attribute, and the like) are retained before and after overwriting. | ||
Image | Inserts a field for outputting an image. If you have selected an existing field, the tag will be overwritten. Note that common tags (name attribute, and the like) are retained before and after overwriting. | ||
Barcode | Inserts a field for outputting a barcode. If you have selected an existing field, the tag will be overwritten. Note that common tags (name attribute, and the like) are retained before and after overwriting. | ||
Edit | Displays the dialog box for editing a tag. | ||
Validate | Checks if there is an error as a form layout in the file. If there are multiple fields with the same name, or if the tag format is incorrect, it will be displayed as an error in the dialog. | ||
(3) | Settings | Options | You can configure the following settings.
For details on the settings, see ""Options" settings". |
Help | Displays this manual. | ||
About | Displays version information for Word Designer. Clicking the Activation button can reactivate your license. |
"Options" settings
"SVF Cloud Account" tab
You can edit the information used for activation.
To reactivate the license with the edited information, you need to click the Activation button in Settings - About. (You cannot reactivate it on this tab.)
"Salesforce Login" tab
This is available for SVF Cloud for Salesforce. You also need to be logged out of Salesforce in Word Designer.
You can edit the information used to log in to Salesforce through the Log In button. The information that can be edited depends on the screen used to log in.
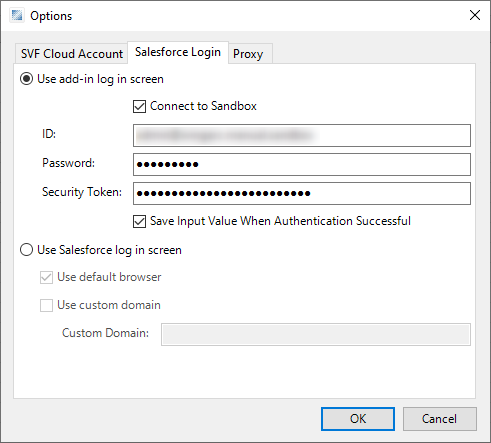
Use add-in log in screen
Select this to use the add-in login screen.
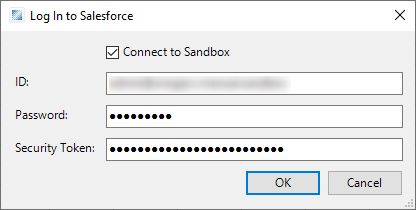
Connect to Sandbox, ID, Password, and Security Token
They are used as information to be automatically entered on the login screen.
Save Input Value When Authentication Successful
When it is selected, if you enter new information on the login screen and log in successfully, the new information will overwrite the settings on this screen.
Use Salesforce log in screen
Select this to use the Salesforce log in screen.
When MFA is enabled in Salesforce, select this.
Use default browser
Specifies whether to display the Salesforce login screen in the OS default browser.
Figure 1. The default browser is not used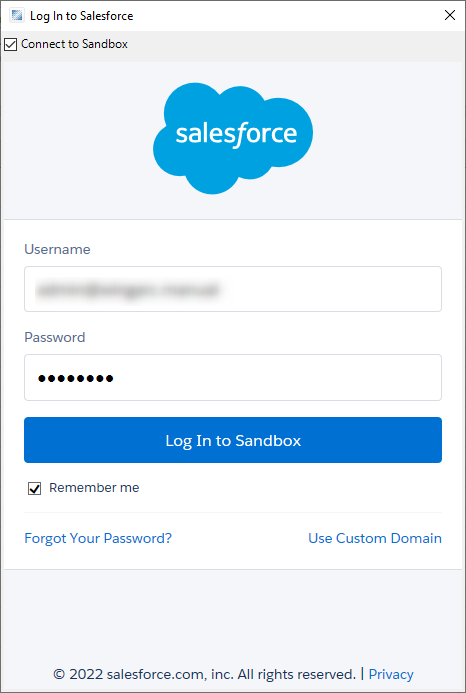 Figure 2. The default browser is used (an example where Google Chrome is the OS default browser)
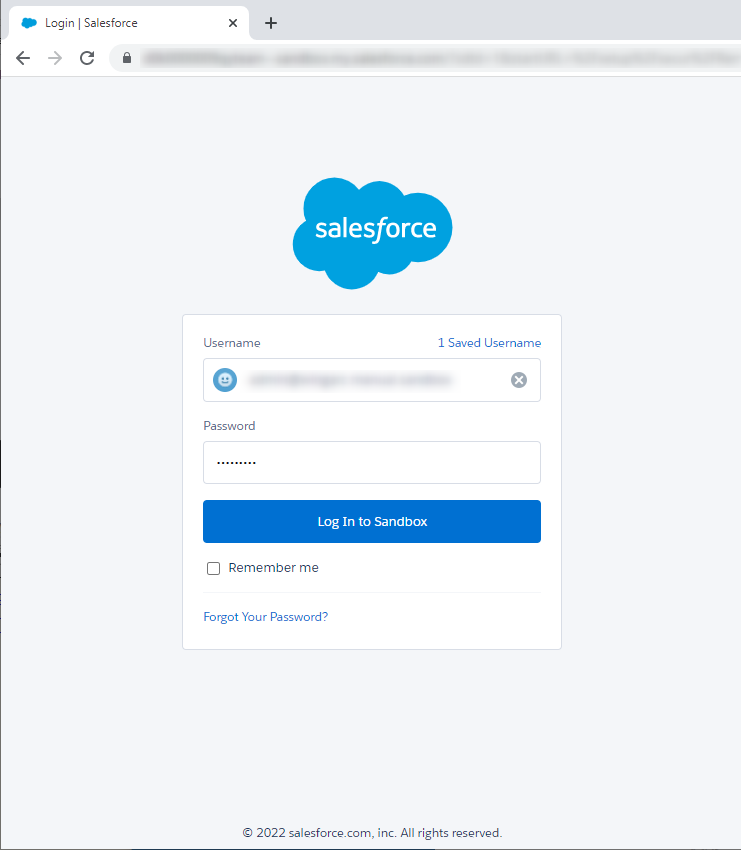
Use custom domain
When a custom domain is used in Salesforce, specify the URL of the domain.
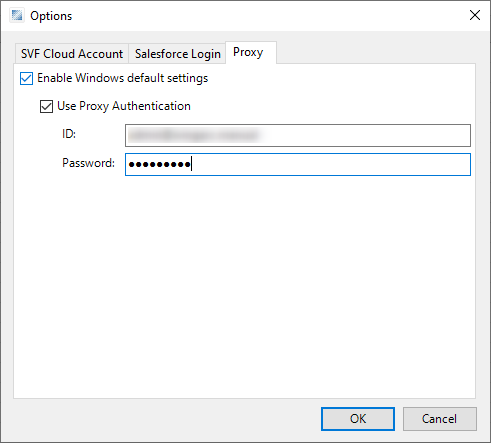
"Proxy" tab
Configure the proxy settings to use a proxy server to access SVF Cloud.
When Enable Windows default settings is selected, the proxy servers configured in the Internet Options dialog of Windows are used.
Select Use Proxy Authentication to set authentication information.