Subform properties ("General" tab)
Set the properties in Property editor. The subform properties are grouped into the General and Multi-page tabs.
This section describes the General tab of the subform properties.
Reference
In the column where you specify a color, you can select any color registered as a palette color in "Settings - Palette color settings".
Setting items in the "General" tab
Properties | Description |
|---|---|
Name | Type a subform name. If a name is not specified, it is automatically and sequentially specified from "Subform1". You can use alphanumeric characters, Kana, Kanji, and underscores (_). Do not use a number for the first character of the name. The maximum length of the name depends on the setting in "Preferences". |
Link-subform name | Set a link-subform. If the records printed in a subform exceed the available area, a page break is normally inserted and the rest of the data is printed on a new page. However, when a link-subform is set, the rest of the data is printed on the specified subform in the same XML form file. For a link-subform, only set its area and do not set records in it. Records from the original subform are automatically inherited. Reference
|
Graphic mode | Specify whether to enable the graphic mode. When selected, the graphic mode will be enabled and the extended settings will become available. ReferenceThe Graphic mode is displayed in Property editor when Enable graphic mode is selected in Preferences - Operation mode. |
Start X(dot) | Set the X coordinate of the upper left corner of the subform. |
Start Y(dot) | Set the Y coordinate of the upper left corner of the subform. |
End X(dot) | Set the X coordinate of the lower right corner of the subform. |
End Y(dot) | Set the Y coordinate of the lower right corner of the subform. |
Direction | Select the direction of records designed in a subform. Records in the subform will be printed next to the previous records.
|
Do not print if empty | Specify whether to print only the subform frame of the link-subform when data output is completed within the link source. When selected, the subform frame is not printed when there is no data. |
No relation between group-suppress and key-break | Specify whether to coordinate the group-suppress of key fields with the key-break. When selected, they are not coordinated. |
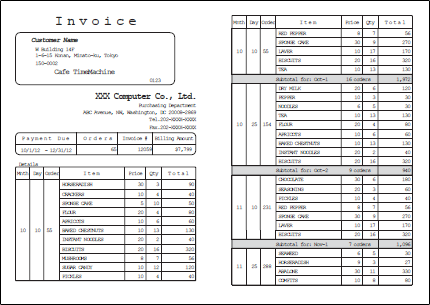
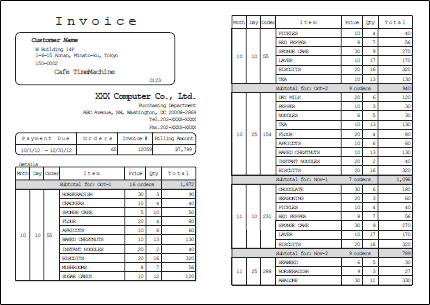
Fix frame size regardless of record count | Specify whether to output ruled lines to fit to the size of the subform frame when detail data ends in the middle of the subform. When selected, ruled lines are output to fit to the size of the subform frame. When the output range of ruled lines fits to the amount of output data 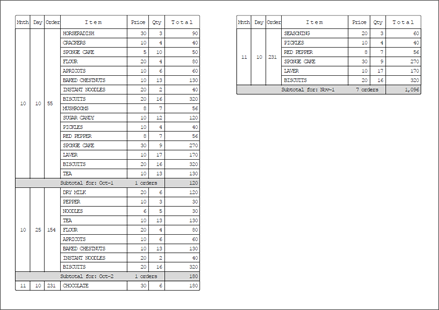 When ruled lines are output up to the size of the frame regardless of the amount of output data 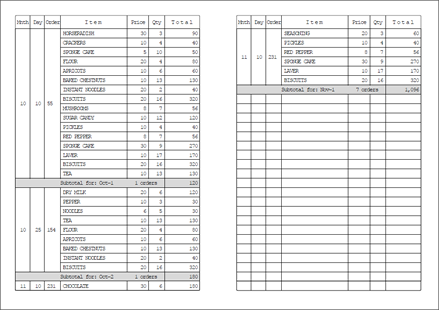 ReferenceWhen multiple detail records are created, the border of the detail record designed at the top is repeatedly output as ruled lines. |
Print mode | Set the printing order for records when a key-break is specified.
|
Show outer frame | Specify whether to display a frame. When selected, the border is displayed. |
Line type | Select a ruled line type to print. Restriction
|
Line width | Select the line width. If you have selected Free(dot), set the line width freely in Line width(dot) shown below. |
Line width(dot) | If you have selected Free(dot) in Line width, set the line width in dots. RestrictionThe line width may not be accurately displayed when the window display is not "400%". |
Frame type | Specify the frame type from either All or Each. When Each is selected, you can specify the line type, show/hide, and the line width for each side. |
Corner type | Select the shape of the corners of the rectangle.
|
Apply corner type(upper left) Apply corner type(lower left) Apply corner type(upper right) Apply corner type(lower right) | Select the corner positions where the shape is to be changed. This can be specified only when Frame type is All. If selected, the corner appears in the shape selected in Corner type. When cleared, Right angle will be applied. |
Corner radius(dot) | Specify the corner radius when you select Cut, Round, or Inverted round for Corner type. |
Line color pattern (Only in graphic mode) | Specify the fill pattern of the frame. |
Hatching | Specify the tile pattern if you have selected Hatching in Line color pattern. |
Hatching line width(dot) | Set the hatching line width if you have selected Hatching in Line color pattern. |
Hatching line interval(dot) | Set the hatching line interval if you have selected Hatching in Line color pattern. |
Gradation | Specify the direction of the frame line gradation from the start color to the end color if you have selected Gradation2 in Line color pattern. The gradation changes depending on the end color and the type. 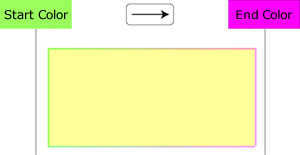 |
Line color2 | Specify the tile line color if you have selected Hatching in Line color pattern. Specify the end color of the gradation if you have selected Gradation2 in Line color pattern. |
Attribute-formula | Specify an attribute-formula. |