Create new XML form files
In addition to creating a new form from scratch, you can use existing form assets when designing a form with Form Designer; you can create a form by using a rough design pattern as a sample.
This section describes the procedure for creating a new form from scratch and completing the design using Form Designer. For details on how to use existing form assets, see "Use of existing form assets".
Prerequisite
Enable graphic mode if you want to place graphic mode items or use features that are only available in graphic mode.
Procedure
Open a new XML form file
Select File - New form or click
 on the toolbar.
A new XML form file opens.
The language selected in Settings - Language of form file is applied as the language of the form file.
Reference
You can also create a form file (form layout) from the  Resource screen in SVF Cloud Manager. For details, see "Create a form layout with SVF Cloud Designer" in "SVF Cloud Administration Guide".
The language specified in the Resource screen will be applied to the language of the form file.
Set the paper properties
In the form window, click an area where no item is placed.
Property editor displays the properties of the paper.
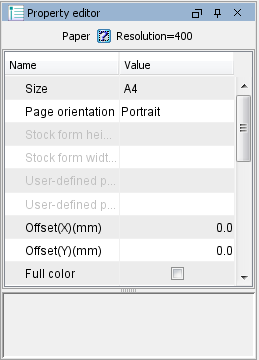
In the Property editor, configure the format settings such as the paper size and orientation (horizontal/vertical) of the form.
When designing multiple copies, set the multi-page count as well.
Design the form
Select and place items in which data is not output, such as a line, rectangle, or static text using Item or the buttons on the toolbar.
If necessary, set the item properties in Property editor.
Select and place items in which data is output, such as a field using Item or the buttons on the toolbar.
If necessary, set the item properties in Property editor.
If necessary, add formulas to items in Property editor to process data and items.
After completing the form design, check whether the form is designed as intended.
Test print
Select File - Test print.
The Test print dialog appears.
Specify the data to be used and click the "Test output" button.
The result appears in the preview window.
Save the XML form file
Select File - Save as or click
 on the toolbar.
The Save dialog appears.
Specify a folder and file name to save the file, and click the Save button.
The XML form file will be saved.
Reference
When you save an XML form file, you can reduce the file size by deleting the properties of items placed in the form window that have the same values as the default values (initial values for printing).
You can configure this settings in Settings - Preferences - File. For details, see ""Settings" - "Preferences" - "File" setting items".