Customize menu bar and toolbars of Form Designer
There are 13 types of toolbars. You can show or hide each toolbar as needed. You can also customize the buttons to display in each toolbar. All the buttons appear by default. Each toolbar contains the following buttons:
Toolbar | Button |
|---|---|
File |  |
Edit |  |
Batch change |  |
Zoom |  |
Import |  |
Operation |  |
SVF Component |  |
Toolbars for drawing shapes (5 types) |
|
Advanced item |  |
Embedding |
|


Procedure
When moving the menu bar and toolbars
The menu bar and toolbars appear at the top of the window by default. You can also move the menu bar and toolbars from the top of the window to each side of the window (top/bottom/right/left). However, you cannot move the zoom toolbar sideways.
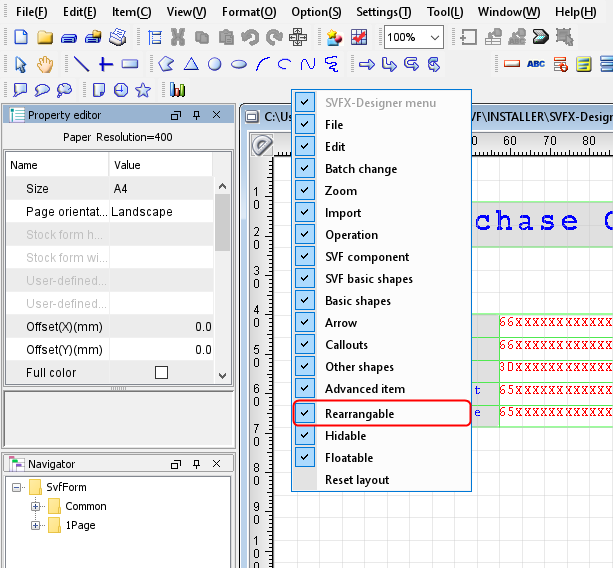
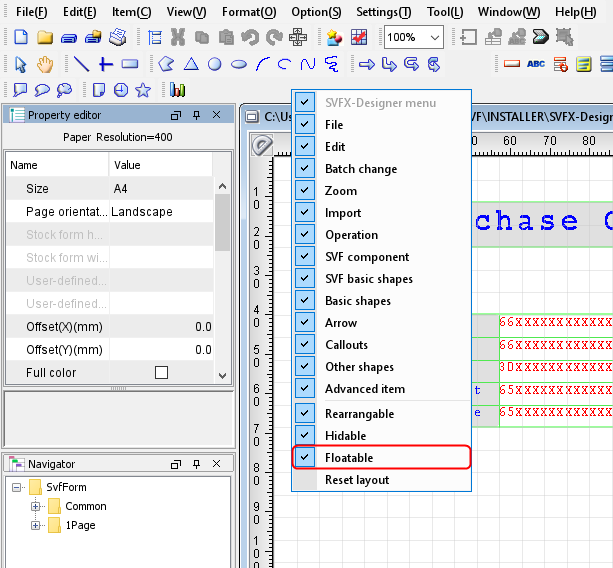
Select the "Rearrangable" check box
Confirm that the Rearrangable check box is selected in the right-click menu of the menu bar or toolbar area. Select it if it is off.
Move a Toolbar
Place the mouse pointer on the left side of the bar that you want to move. When the pointer changes to a cross-shape, drag the bar to the desired position.
When displaying the menu bar and toolbars in the floating display
You can separate the menu bar and toolbars from the main window and display them as floating display.
Select the "Floatable" check box
Confirm that the Floatable check box is selected in the right-click menu of the menu bar or toolbar area. Select it if it is off.
Drag a toolbar
To display a float, drag the toolbar and release the mouse button outside the four sides of the window.
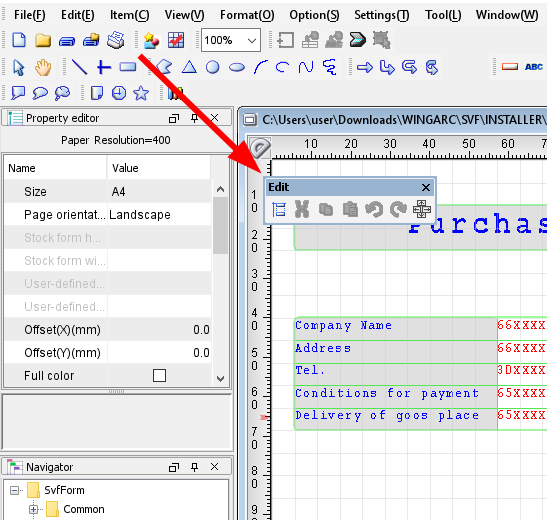
Click the close button displayed on the right top of the File screen to hide the bar.
When switching the show/hide of the toolbar
You can switch show/hide of each toolbar with the right-click menu of the toolbar area.
Select the "Hidable" check box
From the right-click menu on the toolbar area, confirm that Hidable is selected. Select it if it is off.
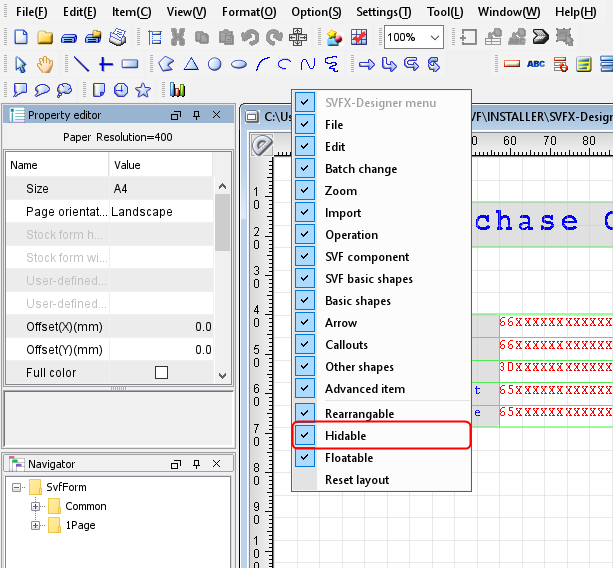
Switching Between Show/Hide
If you clear the check box of toolbar, the toolbar is hidden.
To display the toolbar again, select the check box for the toolbar to be displayed from the right-click menu of the toolbar.
Restriction
If the Enable graphic mode check box in Preferences is cleared, the toolbars dedicated to the graphic mode are always hidden, and you cannot change their show/hide status.
When switching the show/hide and display order of the button
You can show/hide buttons on each bar and change the display order of buttons on the bar.
Display the Customize toolbar dialog
Select Display - Customize toolbar to display the Customize toolbar dialog. Toolbar names appear in tabs.
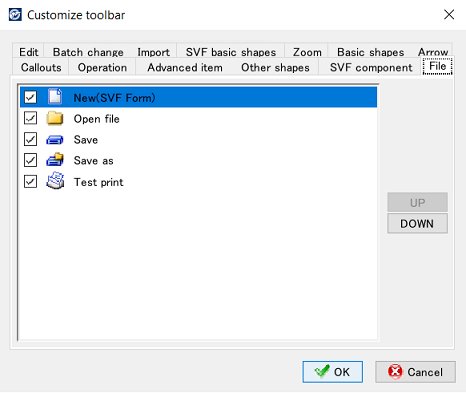
Set the display button
Click the tab of a toolbar to change the display buttons and select the check box of the button to display on the toolbar. Clear the check box of the hide button.
To change the display order of buttons on a toolbar, select the button that you want to move and click the UP or DOWN button to change the order.
Complete the Settings
When you finished changing the button display, click the OK button to close the Customize toolbar dialog.
Reference
When Enable graphic mode of operation setting is not selected, buttons such as graphics are grayed out and cannot be set.