Create an image output field in SVF Cloud Designer
To output an image to a form, create an image output field in SVF Cloud Designer.
Preparation
The procedure depends on the type of SVF Cloud Designer you are using.
For SVF Cloud Designer Client (AIR version)
Log in to SVF Cloud Manager.
Click
 Resource.
With the form layout selected, click Open with SVF Cloud Designer to open the form layout in SVF Cloud Designer Client (AIR version).

SVF Cloud Designer Client (AIR version) starts.
If the screen for confirming whether to start Java is displayed, allow Java to start.
Click the
 Create image button in the toolbox, and place the image output field by dragging the mouse cursor on the Form Editor.
For Image type in Property editor, specify Set file name during printing.

Caution
Test print from SVF Cloud Designer Client (AIR version)
If you specify Set file name during printing, images cannot be output by test print from SVF Cloud Designer Client (AIR version).
To output images by test print, select Set file name during design and specify one of the image files uploaded to SVF Cloud Designer Client (AIR version) in Filename.
Set other items as necessary.
The value set for Name in the Properties is displayed in Field on the SVF Button Settings screen.

Once you have finished creating a form layout, save it and click
 Logout to exit SVF Cloud Designer Client (AIR version).
Creation of the image output field is now complete.
For SVF Cloud X-Designer
Log in to SVF Cloud Manager.
Click
Resource.With the form layout selected, click Open SVF Cloud X-Designer to open the form layout in SVF Cloud X-Designer.
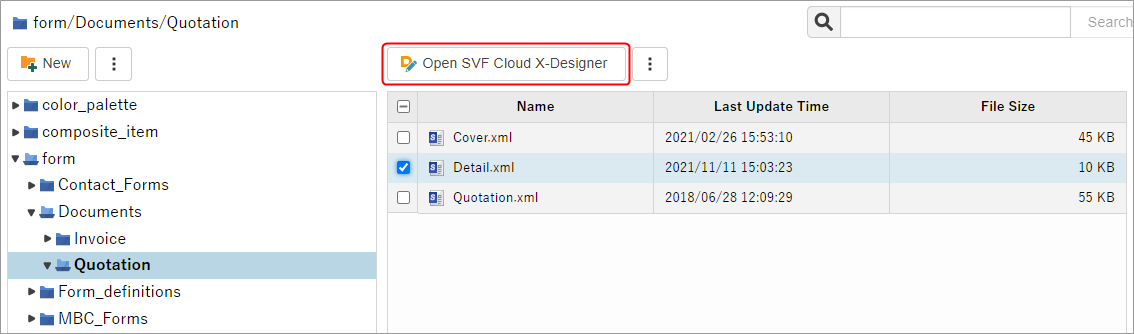
SVF Cloud X-Designer starts.
Select Item - Create image or click
 on the toolbar.
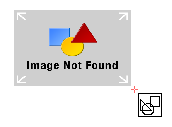
The shape of the mouse cursor changes to
 .
.Drag the mouse to draw a rectangle on the form window.
An image will be placed.
Select the placed image.
The properties of the selected image are displayed in the Property editor.
For Image type, specify Set file name during printing.

Caution
Test print from SVF Cloud X-Designer
If you specify Set file name during printing, images cannot be output by test print from SVF Cloud X-Designer.
To output images by test print, select Set file name during design and, in Filename, select an image file uploaded to "other" folder on
Resource screen in SVF Cloud Manager.Set other items as necessary.
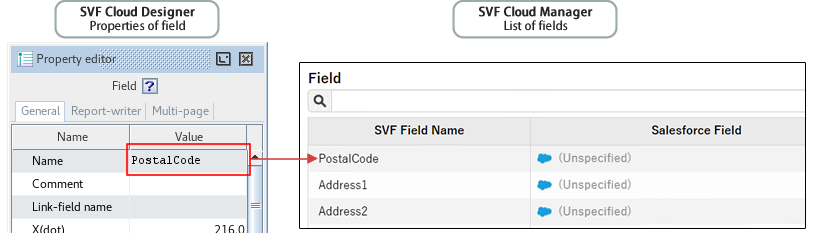
The value set for Name in the Properties is displayed in Field on the SVF Button Settings screen.
Once you have finished creating a form layout, exit SVF Cloud X-Designer.
Creation of the image output area is now complete.