Change the item overlap order
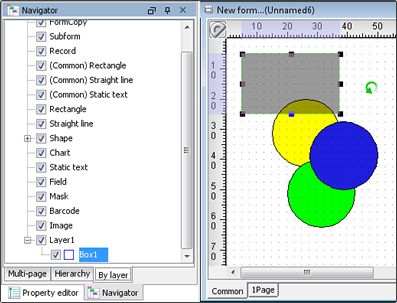
When you place items by overlapping them, their appearance differs depending on the overlap order. For example, three overlapping circles, A, B, and C, appear differently depending on whether they overlap in the order of A, B, C, or in the order of C, B, A.

You can change the overlapping order of items using the layer feature. This section describes how to change the overlapping order of items of the same type, and how to change the overlapping order of items of different types.
Caution
Check the precautions before using the layer feature. For precautions, see "Precautions when using the layer feature".
Procedure
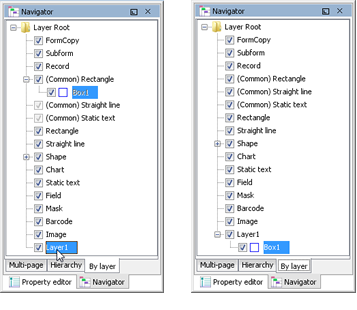
To change the overlapping order of items of the same type
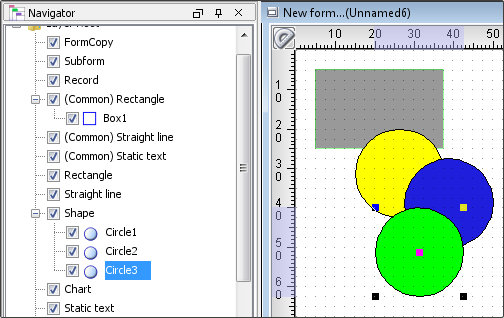
Select the By layer tab in Navigator.
A layer tree is displayed.
On the layer tree, select an item you wish to change its overlapping order.
Drag and drop the items so that they are in the desired overlapping order in the layer tree of the same item.
You cannot drop the item when the mouse pointer appears as
 .
.When the mouse pointer appears as
 , you can drop the item.
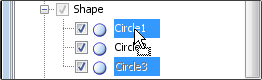
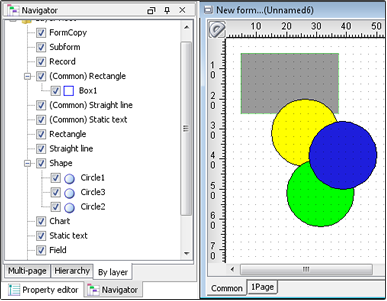
The overlap order of the selected item is changed.
To change the overlapping order of items of different types
Right-click Navigator, and select Add layer from the menu that appears.
Adds a new layer. The newly created layer is called a "user layer". You can add up to 48 new layers.

Select an item in Navigator and drag the item to the new layer.
Alternatively, select an item on the form window, and on the right-click menu, select Move to another layer - Layer(X): Move to this layer.
Reference
If a layer has already been created in Navigator, Move to another layer appears in the right-click menu after selecting an item on the form window and you can move the item to another layer.
The selected item is moved to the new layer.
Move all items whose overlapping order you want to change to a new layer.
Change the overlapping order of items in the new layer.
Caution
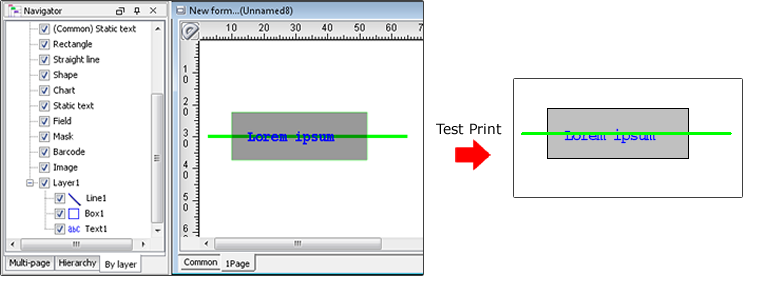
When you place an item with the Graphic mode property ON and one with the property OFF on the same added layer, the item with the property ON will be output to the front.
For this reason, as the example below, the overlapping order may differ between the design on the form window and the output result.
Example: When the following items are placed in the added layer
No. | Item properties Graphic mode | Item type |
|---|---|---|
(1) | ON | Straight line |
(2) | OFF | Rectangle |
(3) | OFF | Static text |