4-6-2 Create fields using a CSV file
This feature is supported by Service Pack 2.
You can create fields on a form using a CSV file that contains field definitions.
Prepare a CSV file
Describe field definition information according to the following format:
Create a CSV file delimited by commas.
Create a CSV file using UTF-8.
The first line must have a column name line. Specify the following column names:
Column name
Description
name
Specify Name for the field. This is a required item.
You can use alphanumeric characters, Kana, Kanji, and underscores (_). The name can be up to 30 bytes in length.
charCountDisp
Specify Number of digits for the field. This is a required item.
Specify a value between 1 and 10000.
type
Specify the data type of the field. Specify 0 or 1 for "character" or "Numeric value". If you do not specify the type, "Text" is specified.
0
Character
1
Numeric value
strComment
Input Comment in the field.
"name","charCountDisp","type","strComment"
"Customer name", 20,1 ,,
"Code", 8,1 ,,
"Slip number", 8,1 ,,
"Address 1", 26,1 ,,
"Address 2", 26,1 ,,
"Remarks", 22,1 ,,
"Unit Price", 8,0 ,,
"Business partner code", 6,0 ,,
Caution
Up to 1000 field data entries can be loaded. Field data exceeding 1000 will not be loaded.
If the required column does not exist, the list of field names will not be displayed in the References window.
Reference
The column order is arbitrary.
If you do not set the value of the "name" column, it will not be loaded into the list of field names in the References window.
If the value in the "charCountDisp" column is not in the valid range, the value creates the field as the minimum or maximum value.
If the "type" column contains a character other than "0" or "1", the type is set to "0".
Add a CSV file
Use the following procedure to add a CSV file to a form definition:
Click the
 References button on the left toolbar to open the References window.
After selecting Queries, click the
 Add file(s) to the form definition button.
Click the
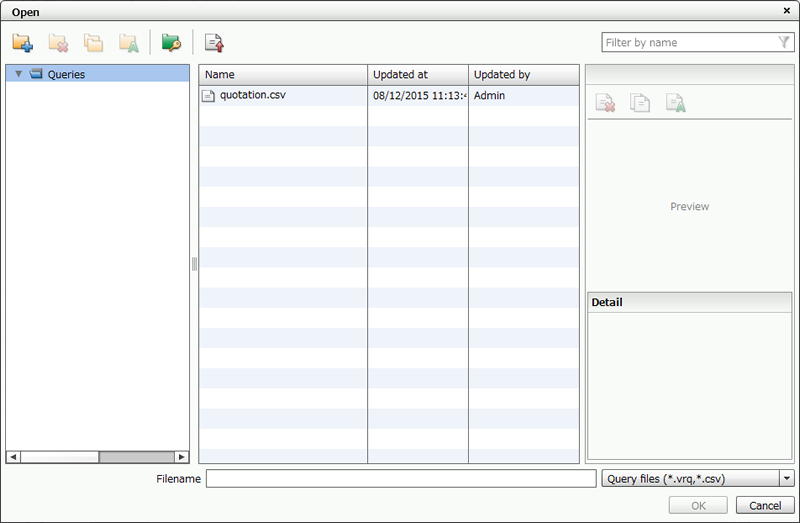
 Upload button and specify a CSV file to add.
The specified CSV file is added to Queries.
Add a specified CSV file to "Queries"
Select the added CSV file and click the OK button.
Place a field
Use the following procedure to create a field on a form using a CSV file:
Click the
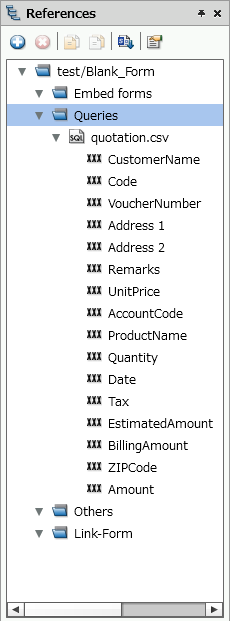
References button on the left toolbar to open the References window.Expand the name of the CSV file added to Queries and display the list of field names.
Select a field from the References window, and drag and drop it onto a form.
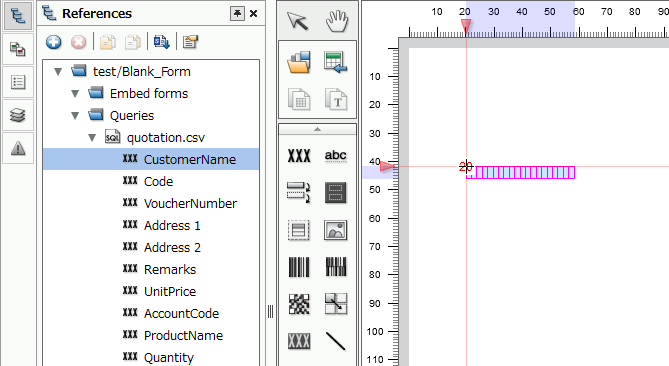
Place a field by dragging it from the "References" window
Reference
If you click the
 button in References to fix the window, you can drag and drop another field continuously.
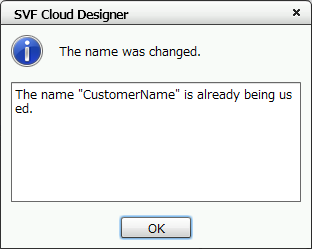
When you drag and drop a field onto a form, it checks for any duplicate item names and available names. If an error occurs, change the name to "Field + sequential number" to create a field, and display the error details in a message box.